Working time models
Working time models allow you to define target hours for employees and automatically calculate overtime. Time models can be assigned to one or more employees.
Using working time models
 Permissions: Only admins, timesheet managers, or user managers of the time tracking system can view
and edit working time models. The Time models menu item is only
displayed for them.
Create and modify a working time model

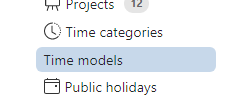
- In the Adminstration menu, go to Time models.
- Click Create new time model or select an existing time model to edit.
-
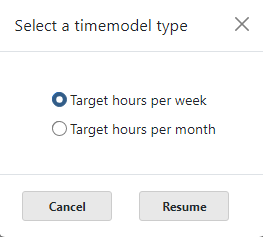
Choose between:
- Target hours per week: Specify the daily target working hours or the weekly target working hours (e.g., 40 hours/week).
- Target hours per month: Specify the monthly target working hours.
- Optional: Define public holidays and non-working days using the holiday calendar: The Public holidays link takes you directly to the holiday calendar with non-working days.
Assign a working time model to an employee
- Go to the Users menu and select an employee to change.
- In the Time model tab, use Assign time model to assign a working time model to the employee.

A time model requires at least one Effective from date. This date is used for overtime calculations. The optional Effective to date specifies the end of the time model's validity. Avoid overlapping time models, as this will trigger warnings.
If the employee only has one time model, it is sufficient to accept the suggested Effective from date and leave the Effective to date blank.
An employee can also be assigned multiple time models consecutively. In this case, the Effective to date must also be specified. This should create a sequence of time periods without overlaps, each with a different model in effect.
JEffective now indicates which model is currently active. For employees with an active working time model, the timesheet displays not only the actual hours but also the planned hours and overtime.
Hours carried over to the new month

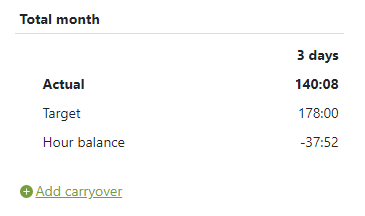
In the monthly view of the timesheet, you can transfer the hourly balance from the previous month. To correctly add the hour carryover, click Add carryover in the totals section at the bottom of the timesheet. The appropriate hourly balance from the previous month will automatically be suggested as the input value.
To ensure you don't forget to transfer the hours, the working time system displays a reminder when you enter your first time in the new month. You can permanently disable this notification window for transferring the hours balance by checking the "Do not display again" box.
